I purchased this 25 count clear ornament set from Michaels. I
intended to keep half clear and paint the other half with ivory acrylic paint that I also
purchased from Michaels. I love a nice natural cream color.
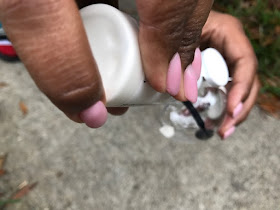
The top of the bulb was very easy to remove, simply by pinching the sides to squeeze the inner wire. I dropped a small amount of ivory paint inside, placed a thin piece of paper towel over the opening, and then shook each bulb until I gained full coverage all around. I let each bulb dry overnight. Some of them required a second coat of paint because it cracked in some areas around the rims.
After each bulb was dry, I took some 3M ScotchBlue Painter's tape purchased here and lined some bulbs in a slanted position. Using Rust-Oleum Black Satin Spray Paint I painted the bottom section of the bulb for a cream and black chic modern look. I'm not a fan of shiny bulbs, so a satin (matte) spray paint was a must.
I thought to test out some Faux Marble ornaments as well. Same concept, I dropped two to four drops of cream and black acrylic paint (purchased from Michaels) inside each bulb in different corners, turning the bulb as I squeezed each drop.
Then I covered the whole with a thin piece of paper towel and shook the bulb lightly until the paint colors mixed and swirled together. A few hard shakes will do the trick. I wasn’t too sure If I loved these ornaments, so I only made four. After they were dry, there was no question how I knew they'd add spunk to the tree.
I must say I am excited about these looks for our tree. Here are the three designs I made. I am hoping that once I assemble the tree in the next couple of weeks that my vision comes together.


No comments:
Post a Comment